How to Read a Size Chart Without Guessing
Most size charts give you the garment's measurements, not yours. Learn which four numbers actually predict fit, and why the same labeled size differs between brands.
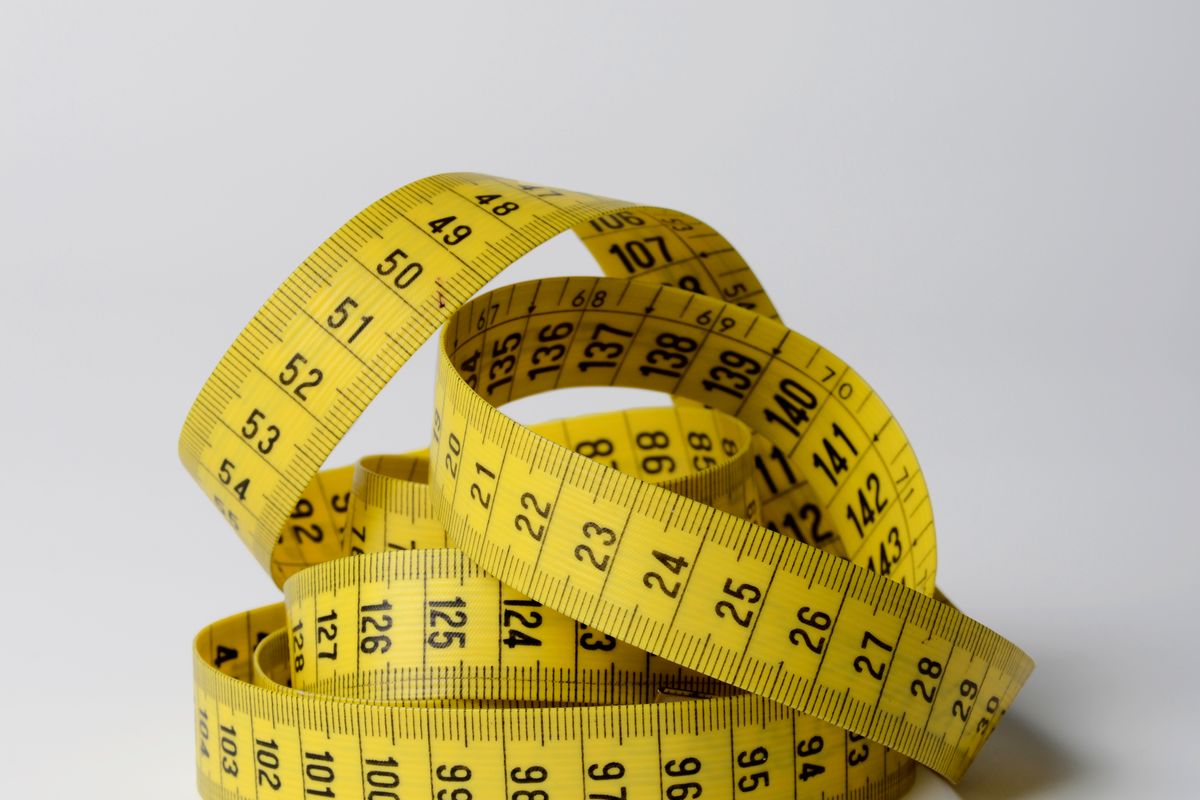
A size chart is not a promise. It’s a table of numbers describing one specific garment, produced by one brand, at one point in time. Reading it well means knowing which numbers carry the information and which are decoration. That skill costs one careful hour with a tape measure, and it transfers to every purchase afterwards.
The four numbers that matter
For anything with sleeves: shoulder width, chest, sleeve length, and length. For trousers: waist, rise, inseam, and thigh.
Shoulder width is the one people skip and the one that decides whether a jacket looks right. It’s measured across the back from shoulder seam to shoulder seam, laid flat. Too wide and the jacket slumps; too narrow and it pulls across the back when you reach forward. Sleeves and chest can be altered. Shoulders, realistically, cannot.
Chest on a chart is usually the garment measured flat and doubled — not the chest of the person it fits. If your chest is 40 inches and the chart says 40, that garment will be tight, because there’s no ease in it.
Sleeve length is measured from the shoulder seam (or from the centre of the back on some brands) to the cuff. The starting point differs between brands, which is a common source of a two-inch discrepancy that isn’t real. Most brands publish a measuring diagram near the chart; checking where their tape starts costs ten seconds and prevents an argument with the wrong number.
Length — front and back, measured from where the shoulder meets the collar down to the hem. On shirts, the back is longer. On jackets, it determines whether the hem covers your seat.
These four numbers catch the two fit failures that alterations cannot rescue: a pull across the shoulders or chest, and a hem that lands at the wrong point on the wrist or hip. A chart publishing all four lets you test for each failure before paying.
Garment measurements, not body measurements
This is the single biggest source of confusion. Most charts list the measurements of the clothing. Some list the body measurements the clothing is designed to fit. A few list both, in adjacent columns, without making the distinction obvious.
The giveaway is the numbers themselves. If a “medium” lists a 38-inch chest and the brand also sells a “small” at 36, those are body targets. If the medium lists 42, it’s the garment, with roughly four inches of ease built in.
A second tell sits in the fine print. Charts describing garments often carry a tolerance note, because cloth shifts as it is cut and sewn. Charts describing bodies rarely need one. Neither note says anything about quality; it records how sewing tolerances work.
How much ease a given garment should carry is its own question, and what ease means in a garment breaks the arithmetic down by garment type.
Vanity sizing is real, but it isn’t the whole story
Labeled sizes have drifted downward over decades — a garment labeled medium today measures closer to what a large measured decades ago. But the drift isn’t uniform. It varies by brand and by market; even product lines within one brand drift separately. This is why “I’m always a medium” fails precisely when it matters: the brand you haven’t bought from before.
The workaround is not to trust the label at all. Take your measurements off a garment that fits, compare against the chart, ignore the letter.
Measuring a garment you already own
Lay it flat on a hard surface, buttoned or zipped, and smooth it without stretching. Measure across the chest one inch below the armhole and double it. For shoulders, measure seam to seam across the back. For sleeves, follow the seam.
The hard surface is doing more work than it looks. Carpet and bedding sink under the tape and quietly steal a fraction of an inch, enough to make two measurements of the same shirt disagree. A table or a bare floor gives a number that repeats.
One caution about the reference garment itself: it should still be in shape. A shirt pulled out of shape by years on a hanger will donate its flaws to every future purchase. Choose a garment that still sits right on the body, not one that is merely comfortable.
Write the numbers down — the point is to build yourself a reference set that makes every future chart readable in seconds.
When the chart is missing a number
It often is. Brands omit rise, thigh, or shoulder measurements routinely, and some publish only a height-and-weight grid. There is no way to derive a missing measurement from the ones given. If the number that decides fit for you isn’t published, treat that as information about the brand rather than a puzzle to solve.
Two partial workarounds exist, both weaker than a real number. Fit comments in reviews are directional: a run of buyers reporting long sleeves confirms a suspicion the chart has already raised, but a single comment confirms nothing. Product photos are less reliable still, because an unknown model build and an unknown lens distort in unpredictable directions.
Emailing the brand works more often than expected. Customer service can usually read a measurement off the physical sample, so ask for a number — the flat chest measurement of the medium — rather than for a fit opinion.
When the fabric stretches, the chart lies differently
A woven shirt and a cotton-elastane knit can print identical chart numbers and fit nothing alike, because stretch fabric is cut with negative ease: the finished garment measures smaller than the body it is meant to wrap. On a chart, that shows up as a chest number equal to or below the body size it claims to fit.
The fibre content on the label is the tell. Elastane in the low single-digit percentages — the usual range in stretch cottons — means the flat measurement is not the number to compare against your chest.
The method stays the same. Measure a stretch garment you already own and compare like with like; a chart read against a woven reference will misjudge every knit in the drawer.
The first order is a calibration order
Even a careful reader guesses wrong on the first order from an unknown brand. The cost is one return, and the information gained outlasts it: brands set their grade rules once and apply them across a size run, so a brand whose medium ran long in the sleeves will run long again next season.
After two or three garments, the same brand’s chart stops being a decision and becomes a lookup. What that means for returns in practice is covered in how to buy clothes online without returns.
The skill, stated plainly: convert every new chart into the language of the garments that already fit, and the label becomes decoration.
FAQ
- Why does the same size fit differently between two brands?
- Because there is no enforced standard for what a 'medium' measures. Each brand sets its own grade rules, and many adjust them for the market they sell into. Two garments both labeled medium can differ by two inches across the chest and still be honestly labeled.
- Should I measure my body or measure a garment I already own?
- Measure a garment you own and like, laid flat, then compare it to the brand's chart. Chart numbers usually describe the garment rather than the body, so comparing garment-to-garment removes a whole layer of guesswork about ease.
- What is 'ease' and how much should a shirt have?
- Ease is the difference between your body measurement and the garment's. A shirt needs a few inches across the chest to let you move and sit; a garment cut to your exact chest measurement will pull at the buttons. How much depends on the intended fit, which is why a 'slim' shirt in your chest size can feel tight while a 'classic' one in the same size does not.
Written by
Nora Finch
I started Dressing Time after one too many orders that came back in the wrong size. Everything here is built from published specifications, brand measurement charts and what owners actually report.
More in Fit & Buying Guides